|
| #1 |
 |
|
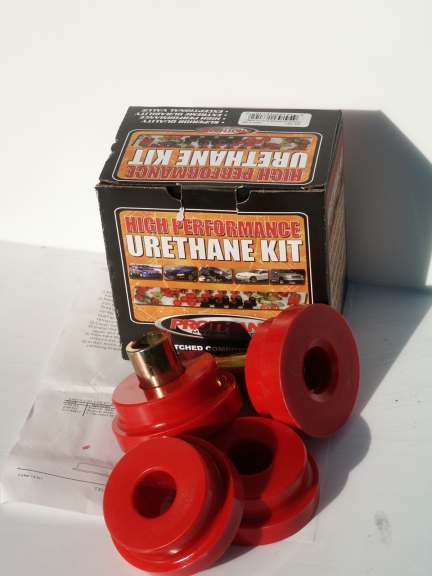
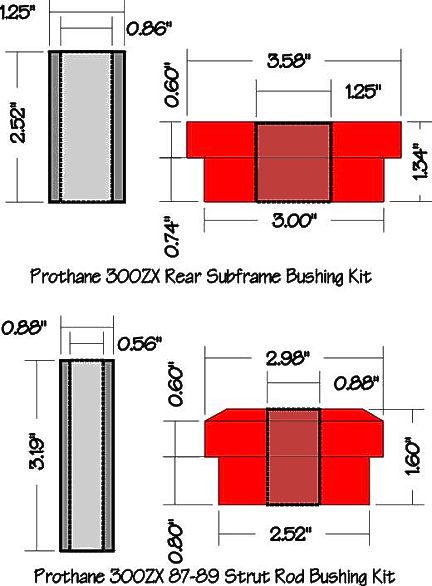
Prothane, part #
14-101 "300ZX IRS Subframe Bush 84-89 Kit", sold by MSA.
PDF
file for the Prothane instructions
|
|
| #2 |
 |
|
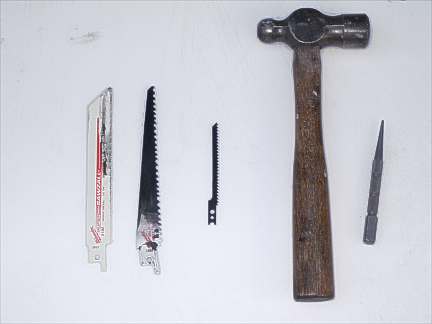
Tools
|
|
| #3 |
 |
|
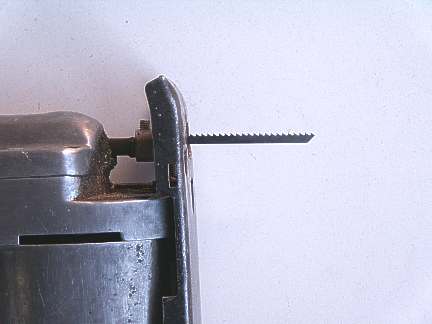
Small hand jig saw. Note the small "saber" blade. This
style blade will allow easy removal of the stabilizers in the bushing housing. These
stabilizers are seen in photo #10.
|
|
| #4 |
 |
|
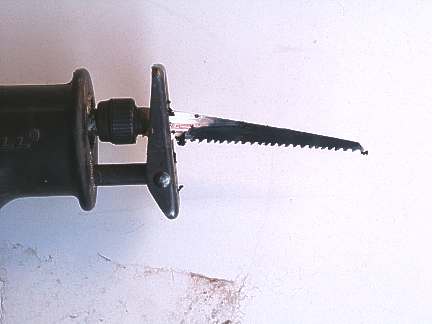
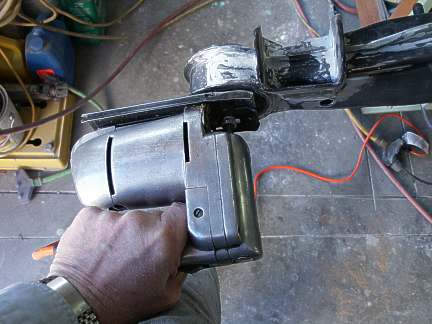
"Milwaukee Sawzall"
|
|
| #5 |
 |
|
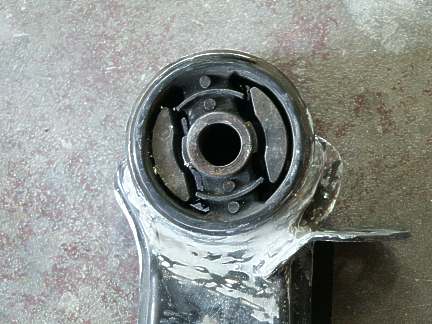
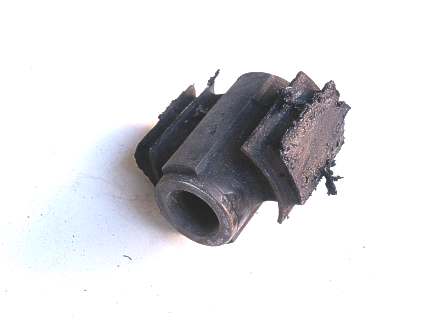
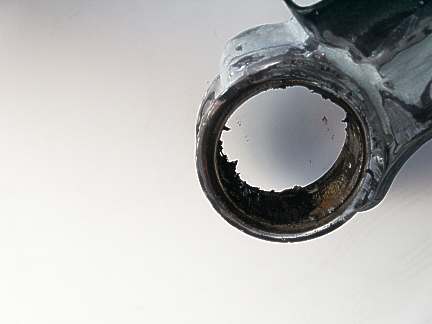
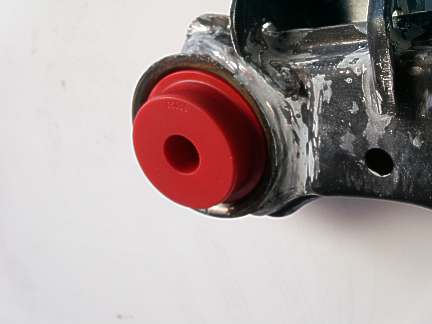
Bushing assembly consists of the bushing journal in the center supported by the
molded rubber on either side. To the right and left of the journal are "C"
shaper stabilizers.
|
|
| #6 |
 |
|
| |
|
| #7 |
 |
|
| |
|
| #8 |
 |
|
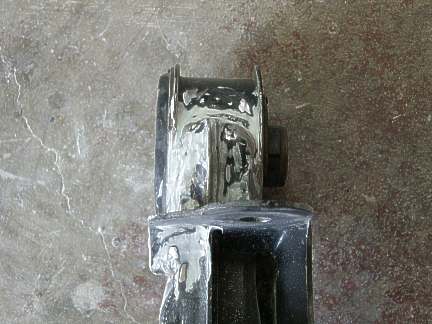
Firmly secure in a bench vice.
|
|
| #9 |
 |
|
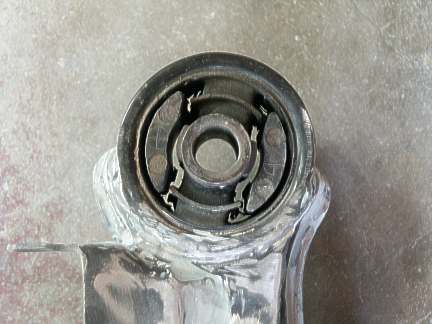
First remove the small stabilizers ...
|
|
| #10 |
 |
|
... which are very easy to remove.
|
|
| #12 |
 |
|
If you use a "Sawzall", to remove the rubber supported journal, be
prepare for copious quantities of rubber smoke.
|
|
| #13 |
 |
|
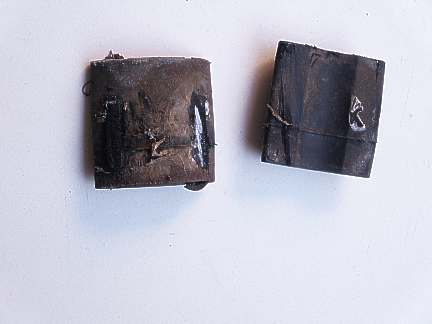
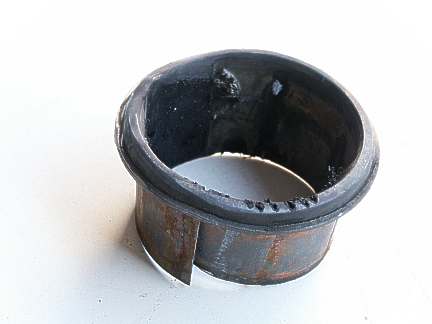
Rubber supported journal after removal.
|
|
| #14 |
 |
|
| |
|
| #15 |
 |
|
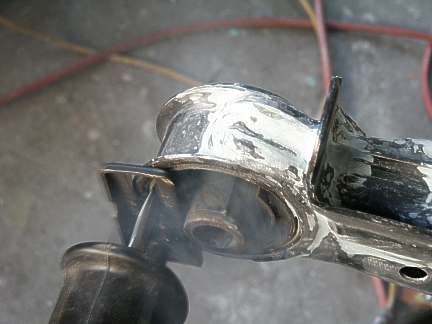
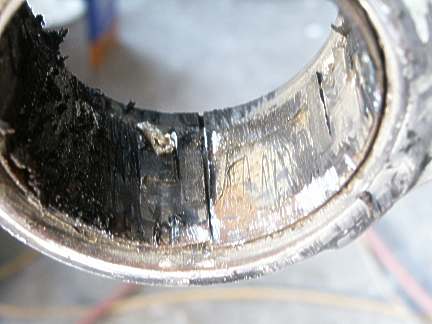
This is where you have to be very careful cutting through the VERY thin inner
sleeve, "shell" as it is referred to in the instructions. Using a hand hacksaw,
as recommended in the instructions, cut through the sleeve. You may consider making
an additional cut opposite of the first to allow easier removal of the sleeve. If you
choose to use a reciprocating power tool, as I did, allow only a maximum of 10 recipts
with light pressure. It is very easy to cut through and mar the housing.
|
|
| #16 |
 |
|
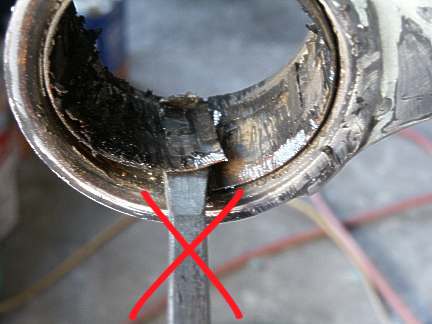
Do NOT use a square chisel as seen here. Marring of the housing will occur. Use a
round punch, as seen in the tools above.
|
|
| #17 |
 |
|
MOFO |
|
| #18 |
 |
|
This is what the front torsion bar bushings look like installed, which will not work.
|
|
| #19 |
 |
|
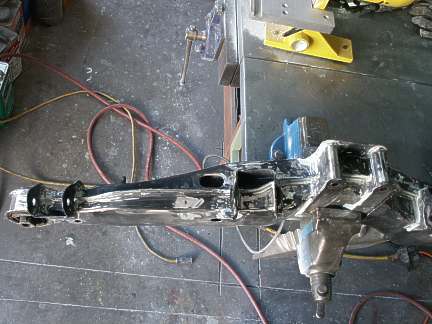
Installation complete. Finito! |
|
| #20 |
 |
|
The Prothane name, logos, product names,
feature names, and slogans are copyrighted trademarks owned by Prothane, Inc.3560 Cadillac Ave., Costa Mesa, CA 92626. Prothane does not endorse this site of
the information contained here in. |
|