This is what you want. |
|
 |
|
Slick
|
|
|
 |
|
WYSIWYG
|
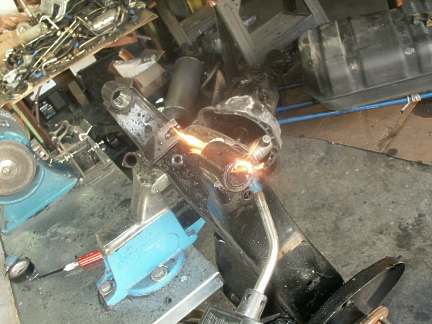
This is how you start. |
|
 |
|
Attach member securely.
|
|
|
 |
|
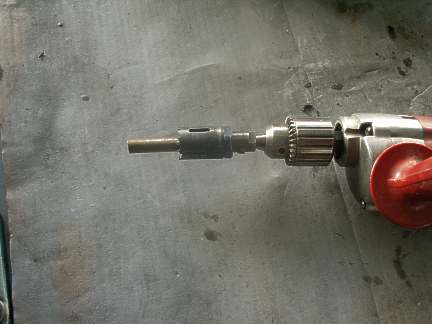
Remove offset of cutting teeth.
Hole saw dimensions
Front = 2" (51mm)
Rear = 1-3/16 (30mm)
|
|
|
 |
|
At first, I thought I needed to protect the inside of the sleeve from the drill bit. The
piece of tubing you see covering the bit fell out on the second try. It was then that I
discovered that if I was careful it was not needed. For the front, because the removed
parts are discarded, careful removal is not a concern.
|
|
|
 |
|
I used a Milwaukee 1/2 Magnum Hole Shooter for maximum torque. You will need to
lubricate and cool the rear bushing with a spray of water, as they are solid
rubber.
|
|
|
 |
|
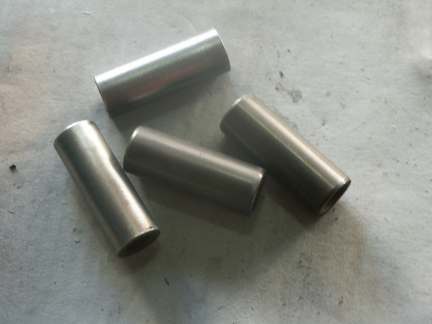
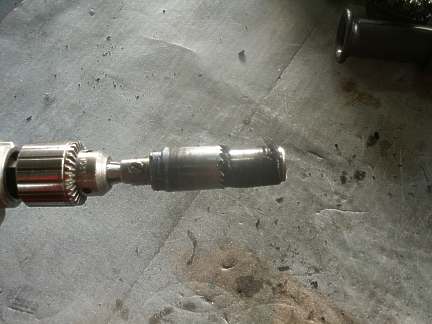
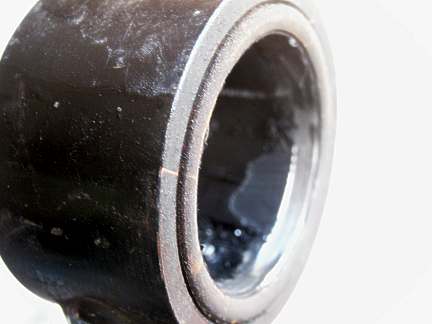
Inner sleeve removed.
|
|
|
 |
|
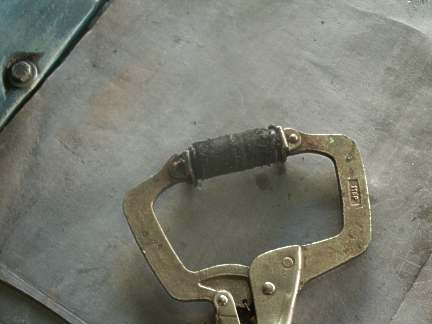
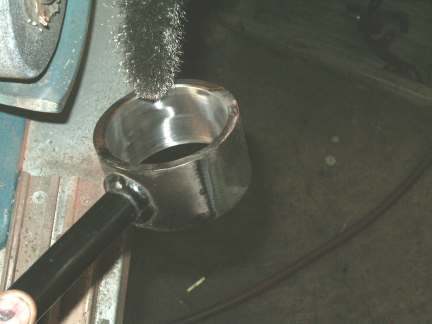
Clamped for wire brushing.
|
|
|
 |
|
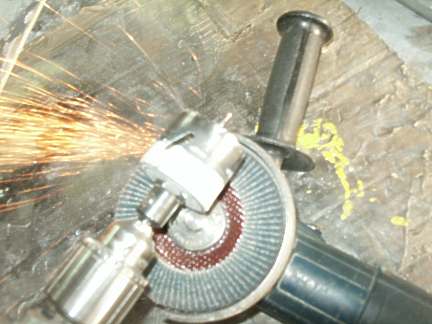
I tried the wire brush on my bench grinder, but it was a little too fine. The
coarse brush on my right angle made quick work of removing the remainder of the
rubber.
|
|
|
 |
|
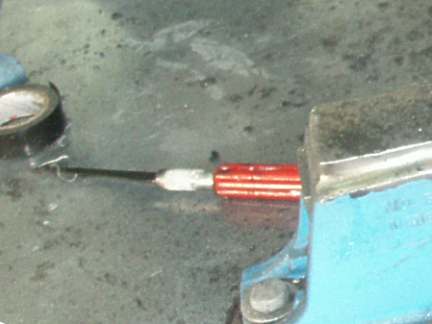
There was still a little rubber left inside each of the journal housings. Using a
propane torch, I heated the rubber and with the knife, seen in the image below, cut and
scraped out the last of the rubber.
|
|
|
 |
|
This knife is called a "Fettling
Knife". It is similar to a boning knife; long, straight, slender and ridged.
|
|
|
 |
|
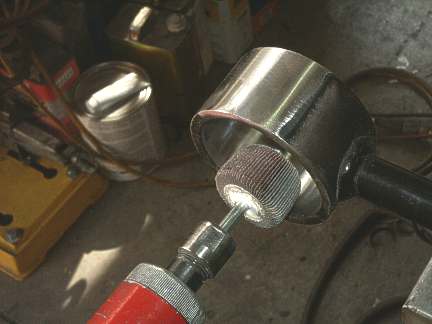
120 grit flapper wheel in a diegrinder for fine cleaning.
|
BELOW; front bushing removal |
|
 |
|
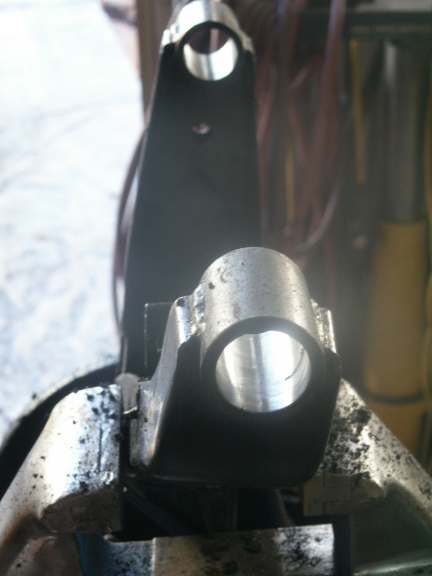
This is what the front tie rod end looks like if you drill out the rubber. The
inner part is a sleeve that the bushing is part of. This whole unit can be pushed out.
I live in the California where rust is not a
real problem for the automotive enthusiast. For those living in regions where rust is a
SLO, you may have to use a hydraulic press to remove the bushing assembly.
|
|
|
 |
|
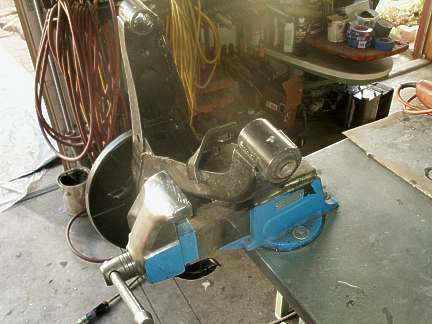
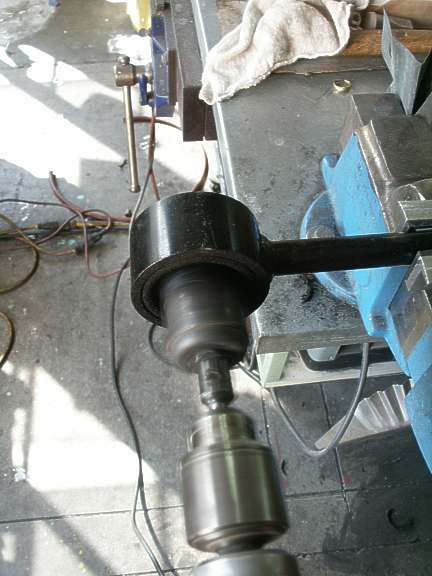
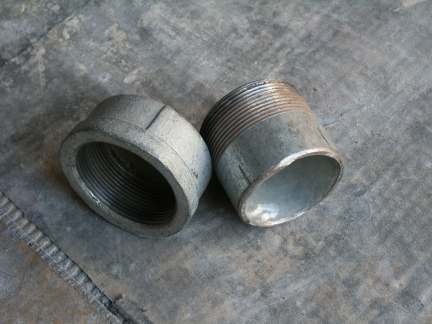
I loved that old TV series “MacGyver”.
I never throw anything away. This 2" pipe and cap was used a number of years ago on a
home plumbing repair. It worked perfectly to remove the sleeves from the tension rod ends.
|
|
|
 |
|
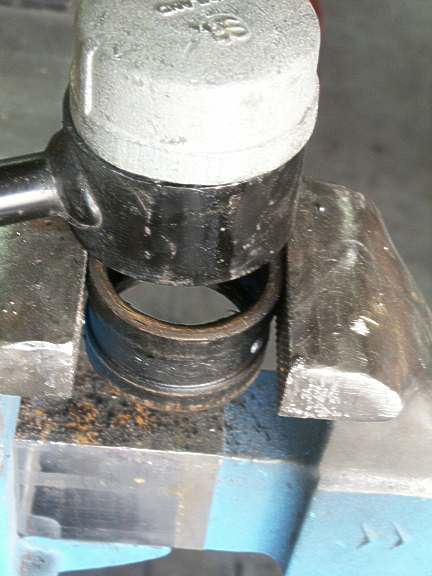
Resting the tie rod end on a carefully adjusted bench vice, to allow the sleeve to
clear the jaws, two light taps from my 2.5 lb. sludge hammer, made quick work of the
removal.
|
|
|
 |
|
Wire brushed and cleaned up, the bushing housing is ready for a coat of rust inhibitive
primer.
I use a two part solvent reducible zinc chromate epoxy primer on
all bare metal parts. Then top coat
with an industrial two part acrylic urethane.
If you have access to powder
coating, use that, however, remember proper removal of ALL rust is the only way to insure
a long lasting finish.
|
|